... AND THEN, CULINARY SCHOOL


MeCulinarySchool.jpg

Sometimes things change, and you find yourself staring into a future you hadn't expected nor considered. At first it's a little like being adrift in fog, not lost exactly, just a sort of ... um, ok, now what? ... feeling. The good thing is, the fog eventually clears. I guess there's nothing like a little life upheaval to sharpen your focus and get you thinking about how you spend your time and what you really want to do.

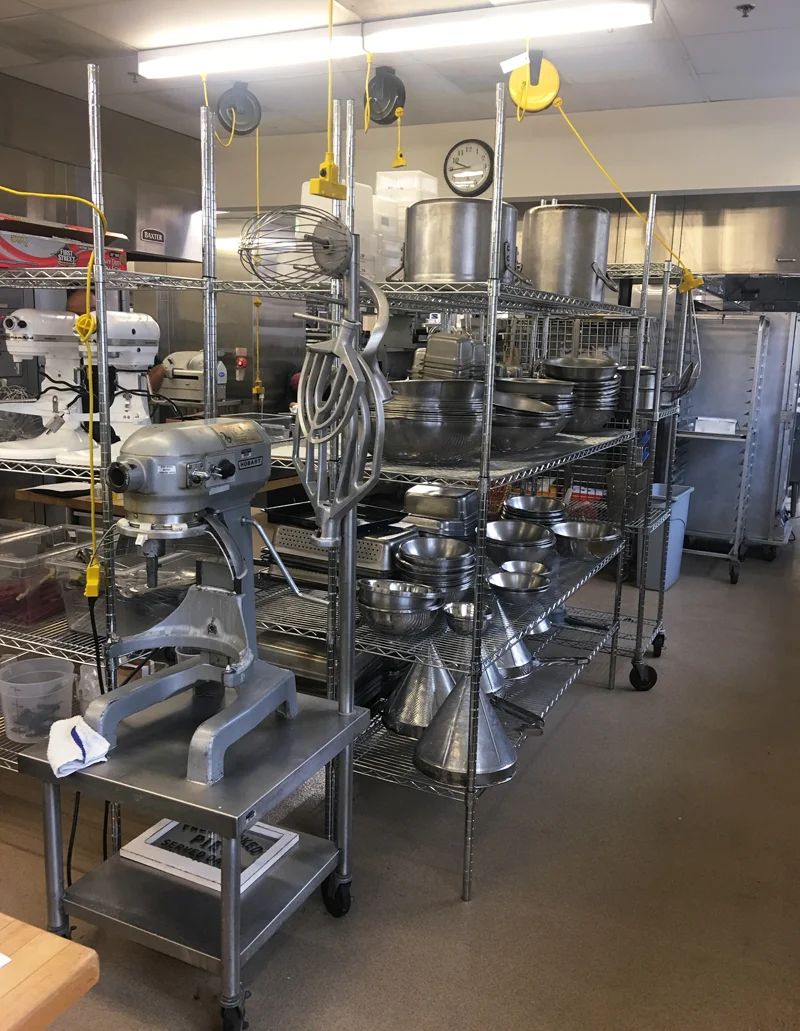
Cooking for me is an outlet, my happy place, and since I was doing a lot of it, I got on Instagram awhile back—along with everyone else in the world—and started posting photos of what I was whipping up in the kitchen. I've had a tendency to come up with recipes but then never write them down. So over the past couple of years I began paying closer attention and writing down what I was doing, that way I could develop a recipe someone else could follow successfully. I started Fiddlehead Kitchen about a year ago as a way to sort of enter into the culinary world, and talk about food, share recipes, food styling and photography. I had secretly wanted to go to culinary school for a long time, but never thought I actually would. However, when I thought about Fiddlehead Kitchen and what I hope to develop it into, I realized I really wanted that level of professionalism, beyond being a really good home cook, that culinary school would provide. In the spirit of sharpening that focus and doing what I really want to do, I enrolled in the Pro Cooking program at New School of Cooking last fall which I completed in late February. I'm now close to halfway through the Pro Baking program. It's been great.

Blog posts have been a bit lax to say the least, but they will start picking again soon. More recipes, more photography, and lots more talk about all things food and maybe a few things that aren't. 

CroissantNewSchool.jpg
ProKitchen.jpg

HARD CIDER BRAISED BRUSSELS SPROUTS


BrusselsPlated.jpg

The humble little Brussels Sprout, the vegetable nobody knew they loved until they tried them ... again. To be fair, most people didn't like them because they first had them as a kid, boiled to a tasteless mush. Everyone should be well over that by now since Brussels Sprouts are on so many menus as starters, sides, hipster gastro pub appetizers, you name it. The little sprout made a huge comeback. I love them, and what's not to love? They're so cute, like tiny little cabbages. I usually roast them, really simply with a drizzle of olive oil, salt and pepper. This is a braised version I first did a few years back for The Beer Magazine where I used a citrusy Pale Ale. I'll post that here sometime but for now, it's nearly Thanksgiving so I did a fall/winter spin on the original recipe and used a more seasonally fitting and friendly hard cider. Use any one you like, and if you don't want to use alcohol (it's just a half cup and cooks out) you can use apple cider exactly the same way.

BrusselsShallotsBacon.jpg

Hard Cider Braised Brussels Sprouts

2 pounds Brussels Sprouts, sprouts halved

3 slices applewood smoked bacon, cut into lardons

2 tablespoons shallots, finely chopped

2 tablespoons unsalted butter

½ cup hard cider

kosher salt and freshly ground pepper, to taste

In a small dutch oven or large frying pan over medium-low heat, add the bacon, stirring occasionally and cooking until crisp. Using a slotted spoon, because you want to keep the rendered fat in the pan, transfer the bacon to a paper towel lined plate. We'll come back to the bacon later. Into the bacon grease add the butter, just do it, you won't be sorry. Once the butter melts, add the shallots and saute until transparent. 

BrusselsBrowning.jpg

Add the sprouts to the shallot, butter, bacon fat goodness, stirring to coat, and turn the heat up to medium. Stir occasionally and keep an eye on those brussels sprouts, you want some browning but not charring. Once they've taken on a little color, add the hard cider and turn the heat back down to medium-low. Lid goes on but crack it a little to let some steam out. Let them braise for about 5 to 6 minutes then, take the lid off and stir, continue cooking over low heat until most of the liquid is gone. Season with kosher salt and freshly ground pepper.

Off the heat finish by stirring in half the reserved crispy bacon lardons then, using the rest to sprinkle on top. Make a quick, crunchy Panko topping by melting about a teaspoon of butter in a small saute pan over medium heat, adding 2 tablespoons of Panko bread crumbs and toasting to the light brown. There you have it, now go get some brussels sprouts.

THE BLUEBERRY SPICE BUTTERMILK MUFFIN


OutOftheOven.jpg

If I'm going to eat a blueberry muffin there are two requirements: 1. Lots of blueberries, it's a BLUEBERRY muffin after all, and 2. It's not a cupcake, so hold back on the sugar please. You can go right ahead and feel pretty good about starting your day with these muffins. Thanks to all those blueberries, they're loaded with antioxidants and very easy on the sugar. Heck, they're good for you, have 2. 

DryIngredients.jpg

Blueberry Spice Buttermilk Muffins

Makes 12 regular-sized muffins

Preheat oven to 375°

½ cup unsalted butter at room temperature

½ cup sugar

2 eggs at room temperature

¾ cup buttermilk

1 ¾ cups all-purpose flour

1 teaspoon baking powder

¾ teaspoon baking soda

¼ teaspoon kosher salt

½ teaspoon cinnamon

¼ teaspoon nutmeg

dash of ground cloves

½ teaspoon vanilla extract

1 heaping cup fresh blueberries

Batter.jpg

• Combine dry ingredients, set aside

• Cream butter and sugar together with a mixer. Then beat in eggs, followed by vanilla.

• Add dry ingredients a little at a time, alternating with a little buttermilk until all is combined.

• Carefully stir in the blueberries by hand. When I was a kid, my mom made blueberry muffins and accidentally mixed the blueberries into the batter with the mixer. We literally had BLUEberry muffins. They were still as good as they'd alway been, just an interesting color. 

• Scoop the batter into a lined muffin tin, trying to keep them all as even as possible.

• Bake at 375° for 25 to 30 minutes. They should be a nice golden-brown color when done.

ScoopedOvenReady.jpg

Let cool just long enough to be able to touch them without burning yourself. Add a little butter and enjoy! Feel free to repeat.

Buttered.jpg


WINNER, WINNER ROAST CHICKEN DINNER


RoastChicken.jpg

True story, I roast a chicken every week, with few exceptions. It's one of my all-time favorite dinners, also one of the easiest, and smells oh so good while it's cooking. I almost always use a lemon and some combination of fresh herbs, this recipe is no exception. 

SeasonIt.jpg

Lemon, Rosemary, Thyme & Lavender Roast Chicken

Preheat oven to 425° / 400° if using convection

1 4-4 ½ pound organic chicken (it doesn't HAVE TO BE organic but if you can then why not)

1 to 2 lemons (use 2 if they're small, and Meyer's are always the best choice—personal preference—when they're in season)

6 to 8 sprigs each of fresh rosemary & thyme (a good handful of each, really, no need to count exactly)

1 ½ teaspoons dried culinary lavender, crushed in a mortar and pestle (yah, people still use them)

3 tablespoons butter

Olive oil

Kosher salt & pepper

Cooking twine, small piece just to tie the legs (if you don't have it, don't fret, it'll still be great without the bondage)

Trussed.jpg

First things first, mash the butter and lavender together—presto, lavender butter. On to the chicken ... rinse, or don't, it's up for debate, and up to you. I rinse with cold water and pat dry with paper towels. Using your fingers, carefully separate the skin from the chicken breast. Stuff the following under the skin on each side of the breast: ⅓ of the lavender butter, 2 lemons slices, and a couple of sprigs of rosemary and thyme. Stick a lemon slice and a sprig of rosemary and thyme in the little pocket between the body and thigh. The rest of the herbs, lemons and lavender butter go inside the chicken along with some salt and pepper. 

OvenReadyRearView.jpg

Tie the legs. Drizzle a little olive oil over the chicken and generously season with kosher salt and fresh ground pepper. Pop that bird in the oven, kick back and relax. Have a glass of wine because what you choose to serve with it can be as simple and easy as a salad. It's going to roast for about an hour. It's done when the juices run clear when you poke the thigh with a sharp knife. If you prefer to go by temperatures, everybody says 165°. Just be careful not to over cook it, dry chicken is sad. When it's done let it rest a good 10 to 15 minutes, makes all the difference. Whip up a simple green salad and you're a winner, winner, cuz you chicken dinner is going to be delicious.